
Why Adhesive Bathroom Shelves Fail (And How To Make Them Last For Years)
Most adhesive bathroom shelves don’t fail because of the adhesive itself. They fail long before they’re ever loaded with a shampoo bottle.
If you’ve ever searched for an adhesive bathroom shelf, you’ve probably come across the same warning.
“Don’t trust adhesive shelves.”
“Mine fell off after a month.”
“They all eventually come down.”
After hearing enough stories like these, it’s easy to assume one thing.
Adhesive simply doesn’t work.
But that’s a surprisingly incomplete picture.
Walk through modern homes, luxury apartments or hotels and you’ll find adhesives being used almost everywhere.
Mirrors.
Wall panels.
Bathroom accessories.
Even structural building components increasingly rely on advanced adhesives designed to withstand years of moisture, temperature changes and daily use.
The technology isn’t the problem.
More often than not…
The installation is.
The Mistake Happens Before The Shelf Even Touches The Wall
Most people think installing an adhesive shelf is simple.
Remove the backing.
Stick it on the wall.
Finished.
Ironically, that’s exactly why so many installations fail.
Unlike drilling into a wall, adhesive installation looks effortless.
Because it feels simple, it’s easy to underestimate.
Yet the first five minutes after opening the box usually determine whether the shelf remains secure for years—or begins peeling away weeks later.
Adhesive installation isn’t difficult.
It’s simply unforgiving.
Small shortcuts create large consequences.
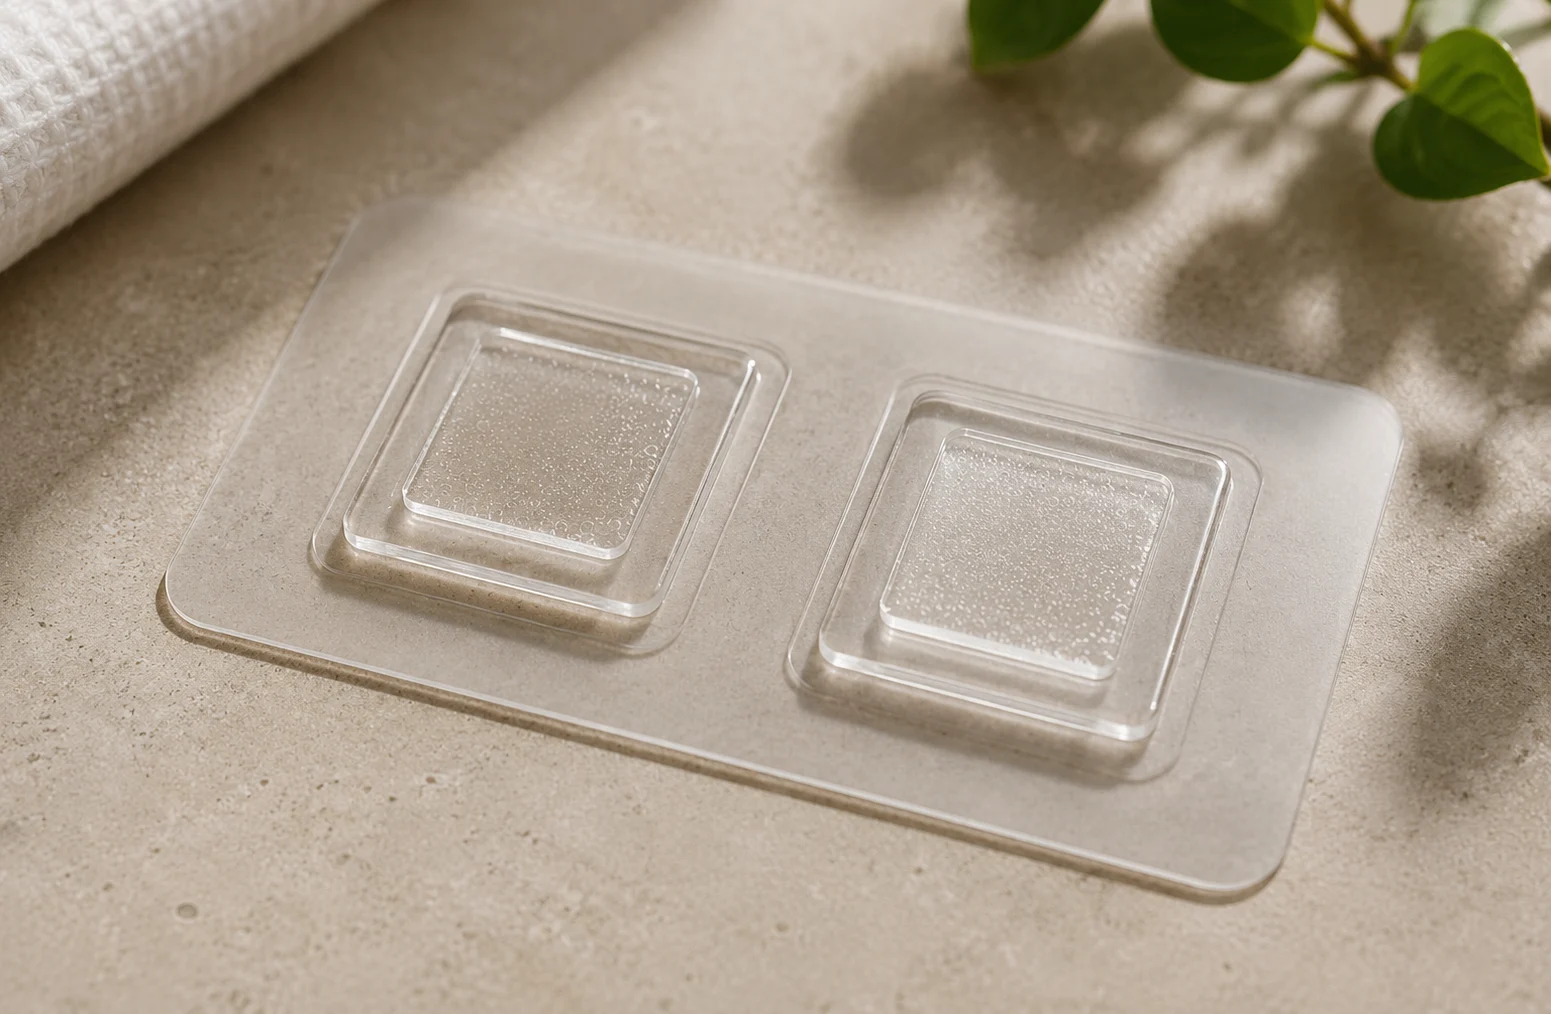
Adhesive Doesn’t Stick To Tiles.
It Sticks To Whatever Is Sitting On Top Of Them.
This is perhaps the most misunderstood part of adhesive installation.
People often believe they’re attaching their shelf directly to ceramic or porcelain tiles.
In reality, the adhesive first meets something else entirely.
Invisible layers of soap residue.
Shampoo.
Body wash.
Hard water minerals.
Dust.
Cleaning product residue.
Natural skin oils left behind every time someone reaches into the shower.
To your eye, the tile looks perfectly clean.
To an adhesive pad…
It’s trying to bond to contamination.
The result is predictable.
The adhesive never develops the strong mechanical bond it was designed to create.
Instead, it’s holding onto a microscopic layer of residue that slowly gives way under load.
When people say,
“The adhesive failed…”
It’s often more accurate to say,
“The surface preparation failed.”
Why Some Bathrooms Seem To Defeat Every Adhesive
Have you ever noticed that one person installs an adhesive shelf and it lasts for years…
While another watches theirs fall within days?
The shelf may be identical.
The adhesive may be identical.
The difference is often the wall itself.
Not every surface provides an ideal bonding surface.
Smooth glazed tiles create one of the best environments because they offer maximum contact between the adhesive and the wall.
Highly textured stone.
Uneven tiles.
Rough rendered finishes.
Peeling paint.
Wallpaper.
These reduce the amount of surface area available for the adhesive to grip.
It’s a little like trying to stick tape to coarse sandpaper.
The adhesive isn’t necessarily weak.
It simply has less material to hold onto.
Understanding your wall is just as important as understanding the product you’re installing.
Time Is The Ingredient Most People Forget
Imagine baking bread.
You carefully measure every ingredient.
Mix everything perfectly.
Place it in the oven…
…then remove it after five minutes.
You wouldn’t conclude bread doesn’t work.
You’d recognise it simply wasn’t finished.
Adhesives behave in a surprisingly similar way.
When the shelf is first pressed onto the wall, it isn’t immediately at full strength.
The bond continues developing as the adhesive cures.
This curing process allows the adhesive to fully wet the microscopic surface of the tile, increasing contact and dramatically improving its holding power.
That’s why manufacturers recommend waiting before placing any weight on the shelf.
The adhesive isn’t “doing nothing.”
It’s becoming stronger.
Loading the shelf too early interrupts that process.
The bond may never reach the strength it was designed to achieve.
Ironically, many adhesive shelves don’t fall because they couldn’t hold the weight.
They fall because they were asked to hold the weight too soon.
The Weight Isn’t Usually The Problem
One of the biggest misconceptions surrounding adhesive shelves is that shampoo bottles are simply too heavy.
In reality, most bathrooms don’t contain extraordinary amounts of weight.
A few bottles.
A razor.
A cleanser.
Perhaps a loofah.
Modern bathroom adhesives are generally designed with these everyday loads in mind when installed correctly and used within their intended limits.
The challenge isn’t the weight itself.
It’s uneven loading.
It’s poor bonding.
It’s moisture trapped beneath an improperly prepared surface.
It’s installing onto unsuitable materials.
The shelf becomes the visible failure.
The installation was the hidden one.
Good Installation Is Quiet
One of the interesting things about successful adhesive installations is that people rarely think about them.
Nobody wakes up each morning wondering whether the mirror will still be hanging.
Or whether the towel hook will remain attached.
Once properly installed, good adhesive simply becomes invisible.
It quietly does its job day after day.
That’s exactly how bathroom storage should feel.
Not temporary.
Not something you monitor.
Just another thoughtful part of the room that quietly supports your daily routine.
Before You Install Anything…
There’s one question worth asking.
Not,
“Will this adhesive hold?”
Instead ask,
“Have I given this adhesive every opportunity to succeed?”
That small shift changes everything.
Because successful installation isn’t usually determined by the quality of the adhesive.
It’s determined by the care taken before the backing paper is ever removed.
The Right Way To Install An Adhesive Bathroom Shelf
A successful installation doesn’t require special tools or complicated techniques.
It simply requires a clean surface, firm pressure and a little patience.
Step 1 — Prepare A Perfect Surface
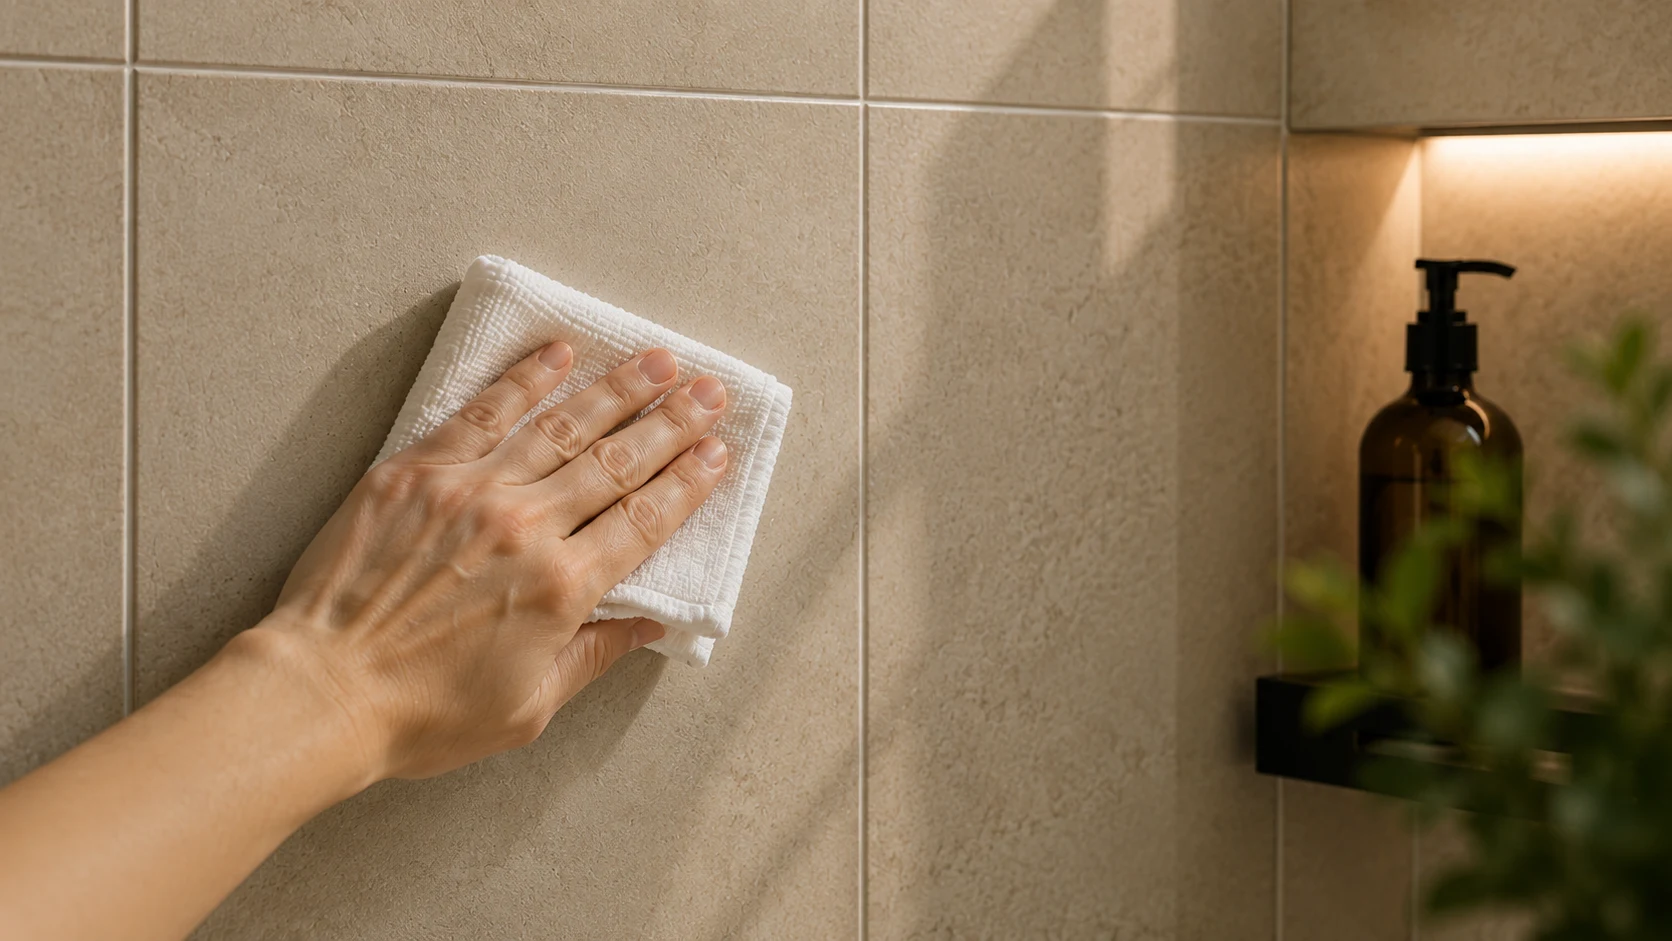
Before removing the adhesive backing, thoroughly clean the section of wall where the shelf will be installed.
Although bathroom tiles may appear clean, they often carry an invisible layer of soap residue, body oils, shampoo, hard water minerals and cleaning product residue. These contaminants reduce the adhesive’s ability to form a strong bond with the tile itself.
Using a clean microfibre cloth and an appropriate cleaner such as isopropyl alcohol, wipe the installation area thoroughly and allow it to dry completely.
This simple step is one of the biggest differences between an installation that lasts for years and one that begins to loosen prematurely.
Step 2 — Position Carefully, Apply Firm Pressure & Allow Time To Cure
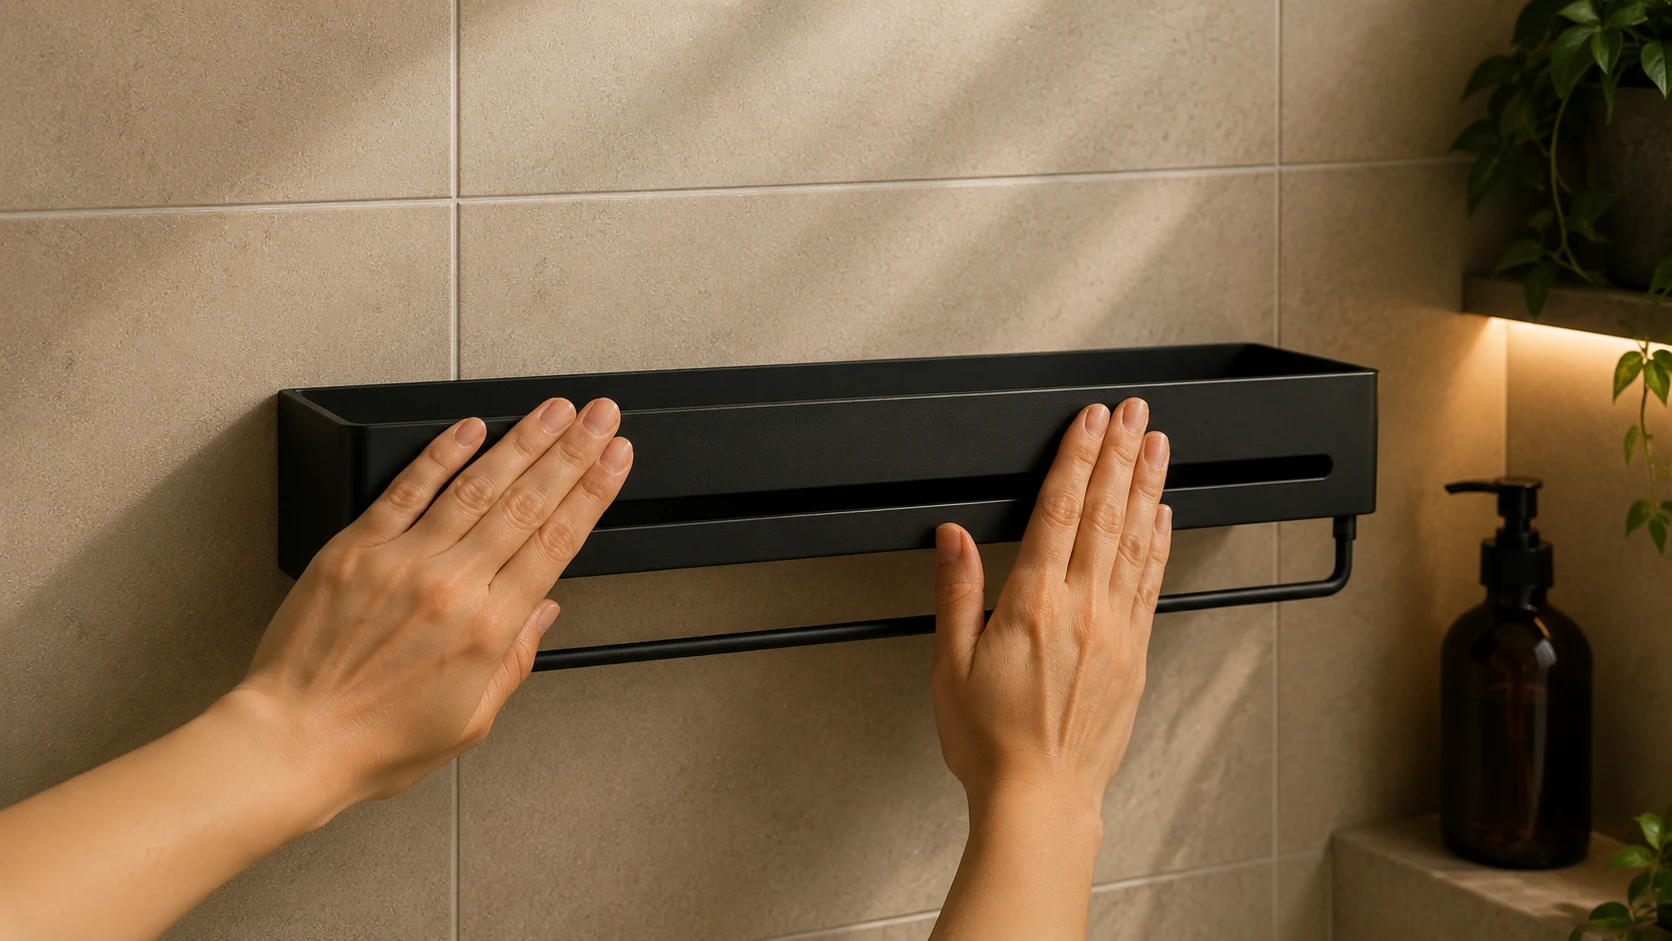
Once the surface is completely clean and dry, remove the protective backing from the adhesive pads and carefully position the shelf.
Take your time before making contact.
Once the adhesive touches the wall, repositioning may reduce the quality of the bond.
When you’re happy with the placement, press the shelf firmly against the wall for up to one minute, applying consistent pressure across the entire mounting surface.
This helps maximise contact between the adhesive and the tile, allowing it to bond evenly.
Once installed, resist the temptation to immediately load the shelf.
Although the shelf may already feel secure, the adhesive continues to strengthen as it cures.
Allow the shelf to remain undisturbed for at least four hours before placing any weight on it.
For the strongest possible bond, allowing 24 hours of curing time before use is recommended.
Patience during this stage is often what separates a good installation from an exceptional one.
The Smallest Step Often Makes The Biggest Difference
People often judge adhesive products by whether they stay on the wall.
In reality, the outcome is usually determined long before the shelf ever supports its first bottle.
A clean surface.
Firm, even pressure.
Enough time to cure.
Those three principles form the foundation of almost every successful adhesive installation.
When done correctly, your shelf doesn’t become something you think about.
It simply becomes part of your bathroom—quietly supporting your daily routine for years to come.
Read More From Us
Why The Best Shower Shelf Is Often The One You Notice The Least
The Most Overlooked Bathroom Storage Problem Nobody Talks About